/jamf: A Slack app to simplify Mac lookups and troubleshooting

I thoroughly enjoyed presenting at JNUC 2019 – my first presentation outside of Australia. I was an emotional wreck in the lead up to it, but I genuinely enjoyed the experience and was nowhere near as nervous as I thought I would be. It was also great to know that there are macadmins out there that find my Slack app interesting and potentially useful.

I talked about /jamf, a Slack app I created that integrates with Jamf Pro Classic API, in a quest to simplify Mac look ups for the level 1 and 2 techs in my team.

The app effectively lets you run a Jamf Pro ‘advanced computer’ search via Slack, and lets me pick and choose what attributes I want the techs to consider, and allows me to easily qualify those attributes.

This is an example of the app in action:

The app uses the following components:

  • 1 Slack workspace
  • 1 Jamf Pro account with read-only rights to the computer objects
  • 4 AWS Lambda functions
  • 2 API Gateway instances
  • 2 AWS SNS topics
  • 1 AWS Secret Manager secret

I am just going to share code examples for the four Lambda function in this post. I’m not going to go into the how or why of the app in this post, as I hope the presentation slides, in combination with the video, and this post on how to create a basic Slack app, covers that ground enough. But please let me know if there is anything that you think I should explain further or provide more information on.

Here is the video of my JNUC presentation, which covers a bit of the background behind why the Slack app was created in the first place:

The first function is called slackapp_initial_slash_command_invoked.py. Its primary task is to respond to the Slack slash command event and to trigger an SNS event for the second function, slackapp_run_matchSearch.py.

The second function, slackapp_run_matchSearch.py, is responsible for running a match search for the provided search string and returning the results back to Slack.

The third function is slackapp_buttonClicked.py and is responsible for responding to a button click. It effectively just triggers an SNS event so that our fourth function, slackapp_idSearch.py, can go ahead and do a computer search for the particular JSS ID that is associated with that button.

The fourth and final function, slackapp_idSearch.py, does a Jamf Pro API lookup for a particular computer id, and presents a ‘health summary’ back to Slack.

slackapp_idSearch.py presents some general items (computer name, last check-in time, hardware type, etc.) in the health summary but it also displays the results of all extension attributes with the string “slack -” in its name. This means that if I wanted to add or remove a new EA from the health summary I simply need to adjust its name.

The script below is an example of one such extension attribute. I am referring to a slack emoji in the ea name, which Slack will actually go ahead and display as the relevant emoji in the summary output.

In the extension attribute output I provide users with a clickable link to either a relevant knowledge base article or to a Jamf Self Service policy. I only use the jamfselfservice:// links for the /mymac results, as they are only useful if being clicked from the computer that you are wanting to run the policy on, which is not the case when /jamf is used by a tech.

Another thing that slackapp_idSearch.py searches for is any smart or static groups that the Mac belongs to that have a warning emoji in their title. This is because I have found that I’m usually only interested in smart group memberships that indicate a “bad thing”. But you could easily make it so that simply displays all groups that have a particular string or a variety of emojis in their name.

And that’s it!

Reach out to me via here or in the macadmin Slack workspace if you have any questions 🙂

I’d like to thank the fine folk at Jamf for accepting my presentation proposal for JNUC 2019, and for making it a wonderful event full of supportive and friendly peers ❤️

Presenting our DEP workflow at the Jamf Roadshow ✈️

This week I’ve been lucky enough to be asked by Jamf to present at the Australian/New Zealand roadshow, to demonstrate how we leverage Apple’s DEP and Jamf’s Jamf Pro to build our Macs at SEEK.

I’m super excited to present at my first roadshow tomorrow, in Auckland –  and I am very much looking forward to being surrounded by kiwi accents for two days!

In my short presentation, I step through our deployment workflow types, our workflow requirements, and the tools and services used to build it.

In the meantime, here’s a brief summary of the requirements that I considered when designing a Mac build workflow for SEEK, and a link to the tools and services I used to bring it all together.

Workflow requirements

When designing our build workflow, we had to make sure that it covered the standard Mac MOE requirement of installing core applications and settings, as well as the following:

  • A workflow that works whether it is being carried out by a deployment technician or by the primary user of the Mac
  • We want the primary user of the Mac to be a local computer admin
  • We want there to be a second admin computer account for the tech team, and for this account to have a unique password
  • We need the computer to be FileVault encrypted, and for both accounts to be FileVault enabled
  • We need our Macs to have a particular computer name
  • A workflow that allows the end user to continue using the Mac throughout the build process
  • We want to be able to inform the user, be it a tech or an end-user, of the progress of the build
  • We want the ability to interact with them, to be able to gather information from them, if required
  • We want the build workflow to begin as soon as the first user logs in to the Mac – right after the Apple Setup stage
  • And finally, we want to keep track of Macs once they are built – we want to send a summary report to a private tech team Slack channel

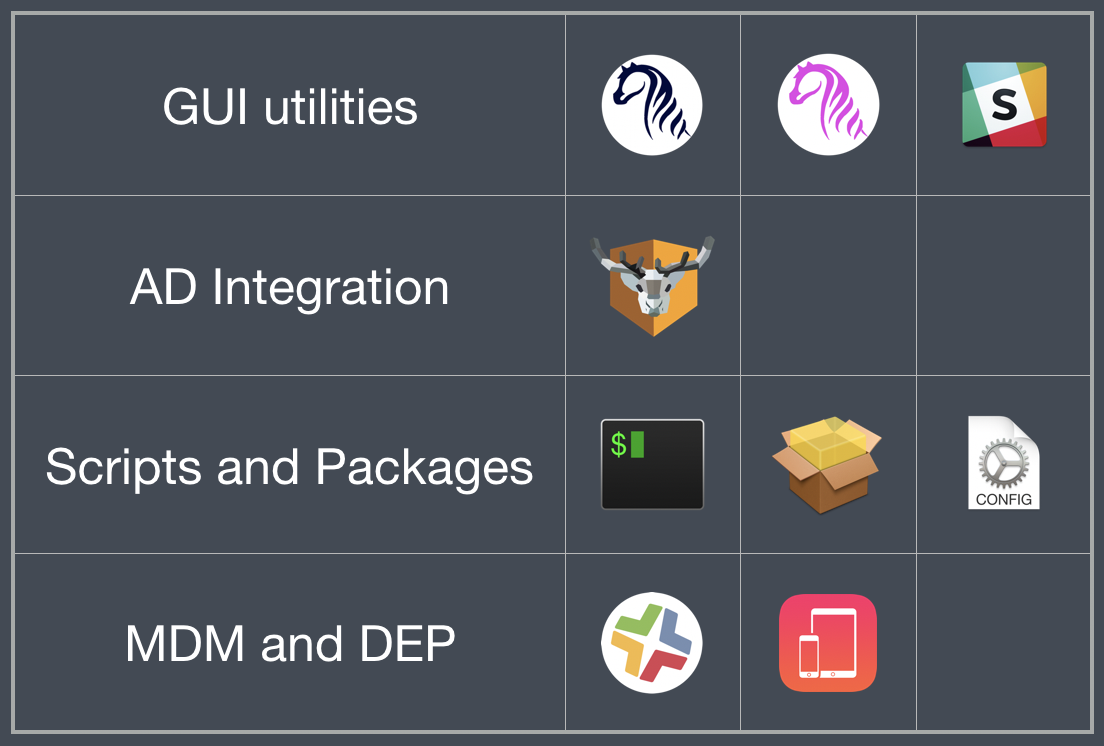
Tools and Services

  • And of course, a whole bunch of scripts and packages on our Jamf Pro server, made possible with the magic of Jamf Pro and DEP

I will share more content about this topic in the coming days/weeks, including the demo that I’m showing at the Roadshow and some extra code snippets that I didn’t have time to include in my allocated time, but if there’s anything you are particularly interested in, or if you have any questions, hit me up in the comments section below or message me on Twitter.

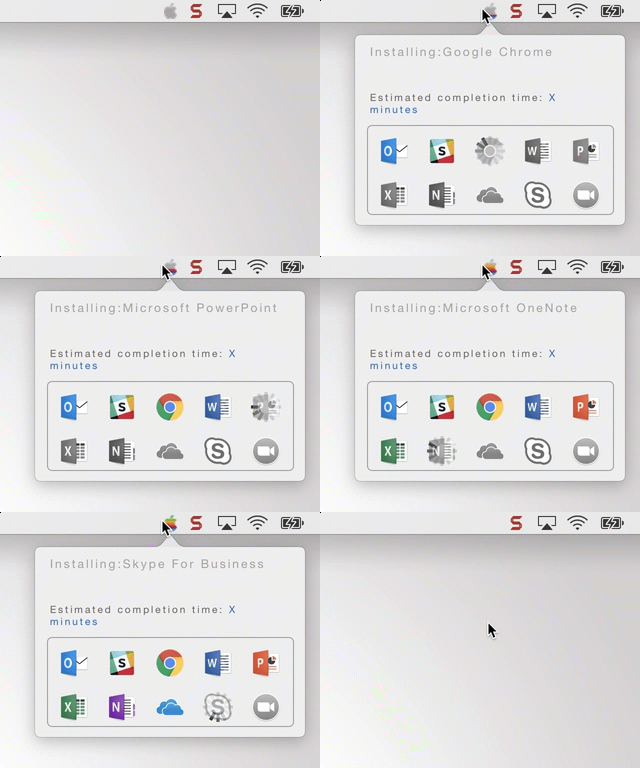
Using MenuBarTrigger to show deployment progress

Step 1: Install MenuBarTriggerh

Step 2: Install the icon files locally on your test Mac. The ones used in this example (and referenced in the script) can be installed using MenuBarTrigger Example Icon Files pkg

Note: The script also makes reference to a progress wheel gif file – for the gif to animate it needs to be hosted online, so my example script points to a hosted version.

Step 3: Run the script below. You can run it as a policy payload or just locally from your test Mac. The function create_webviews creates the 11 HTML files that will be presented in the pop-over. This is followed by the actual MenuBarTrigger call, which stipulates which command to run with which webview, the dimensions of the pop-up, and the icon to show on the menubar.

The example script only uses the ‘sleep 5’ command, but you would replace this command with the actual Jamf Pro or bash commands that you want to run at each step. For example:

/usr/local/MenuBarTrigger.app/Contents/MacOS/MenuBarTrigger --file /var/tmp/1.html "policy -trigger outlook" \
--file /var/tmp/2.html "policy -trigger slack --icon /var/tmp/images/apple2.png" \
--file /var/tmp/3.html "policy -trigger chrome --icon /var/tmp/images/apple3.png" \
--file /var/tmp/4.html "policy -trigger word --icon /var/tmp/images/apple4.png" \
--file /var/tmp/5.html "policy -trigger powerpoint --icon /var/tmp/images/apple5.png" \
--file /var/tmp/6.html "policy -trigger excel --icon /var/tmp/images/apple6.png" \
--file /var/tmp/7.html "policy -trigger onenote --icon /var/tmp/images/apple7.png" \
--file /var/tmp/8.html "policy -trigger onedrive --icon /var/tmp/images/apple8.png" \
--file /var/tmp/9.html "policy -trigger skype --icon /var/tmp/images/apple9.png" \
--file /var/tmp/10.html "policy -trigger zoom --icon /var/tmp/images/apple10.png" \
--file /var/tmp/11.html "wait --icon /var/tmp/images/apple11.png" \
--width 270 --height 190 --icon /var/tmp/images/apple1.png

The last webview uses a ‘wait’ command, which means that the menubar item stays there until a button is clicked within the webview. In this case it is a “Reboot” button, but there is no subsequent reboot action carried out in our example script.

Example script will result in something that looks like this

Jamf Pro Reporter: a Slack Webhook to help keep track of Mac deployments

As the number of Mac deployments began to ramp up at my work it became apparent to me very quickly that I needed an easy way to keep track of what was being built, and when. As we began having more Macs built in different timezones, it became harder for me to quality check each new Mac setup.

I also wanted to make sure that there was greater visibility in regards to failed Mac builds, beyond relying on emails from the JSS about failed policies. So I decided to create a Slack ‘Jamf Pro Reporter’, to post to a team ‘client computing fyi’ channel at the end of every Mac build. The post would be a summary of the kinds of things that I want to make sure we got right – does it have the correct computer name? Is the username of the primary user of the Mac correct? Is FileVault encryption enabled and is the primary user a FileVault enabled user? Is the Mac successfully connecting to the corporate wifi?

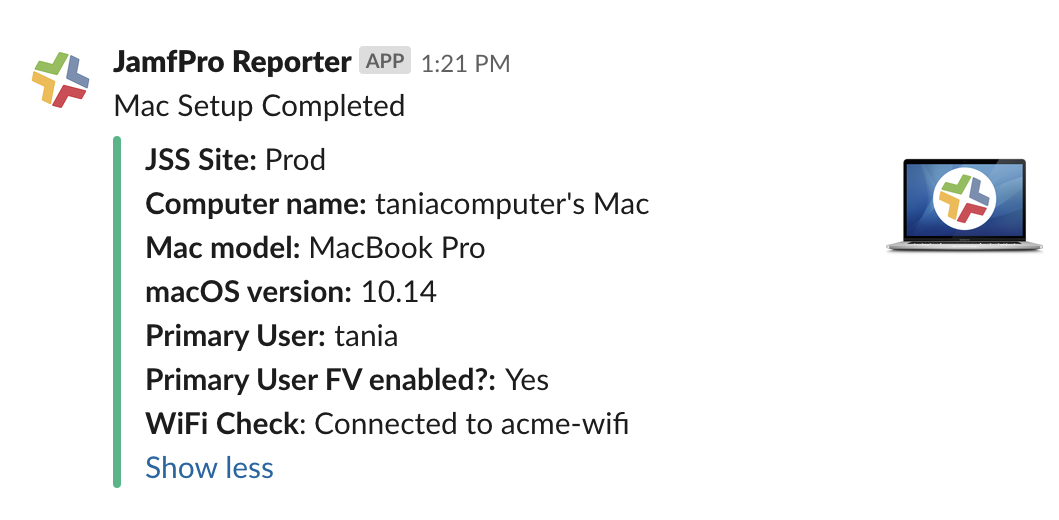
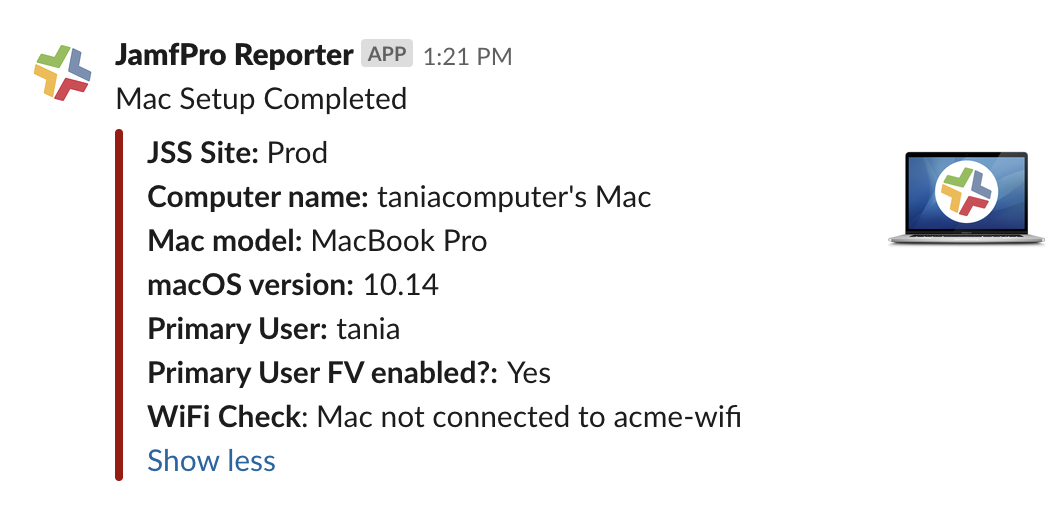
I also wanted there to be a clear green/red visual cue if the deployment was successful or not. The final product looked something like this:

A successful Mac build 🙂
An unsuccessful Mac build :’-(

Steps to creating JamfPro Reporter:

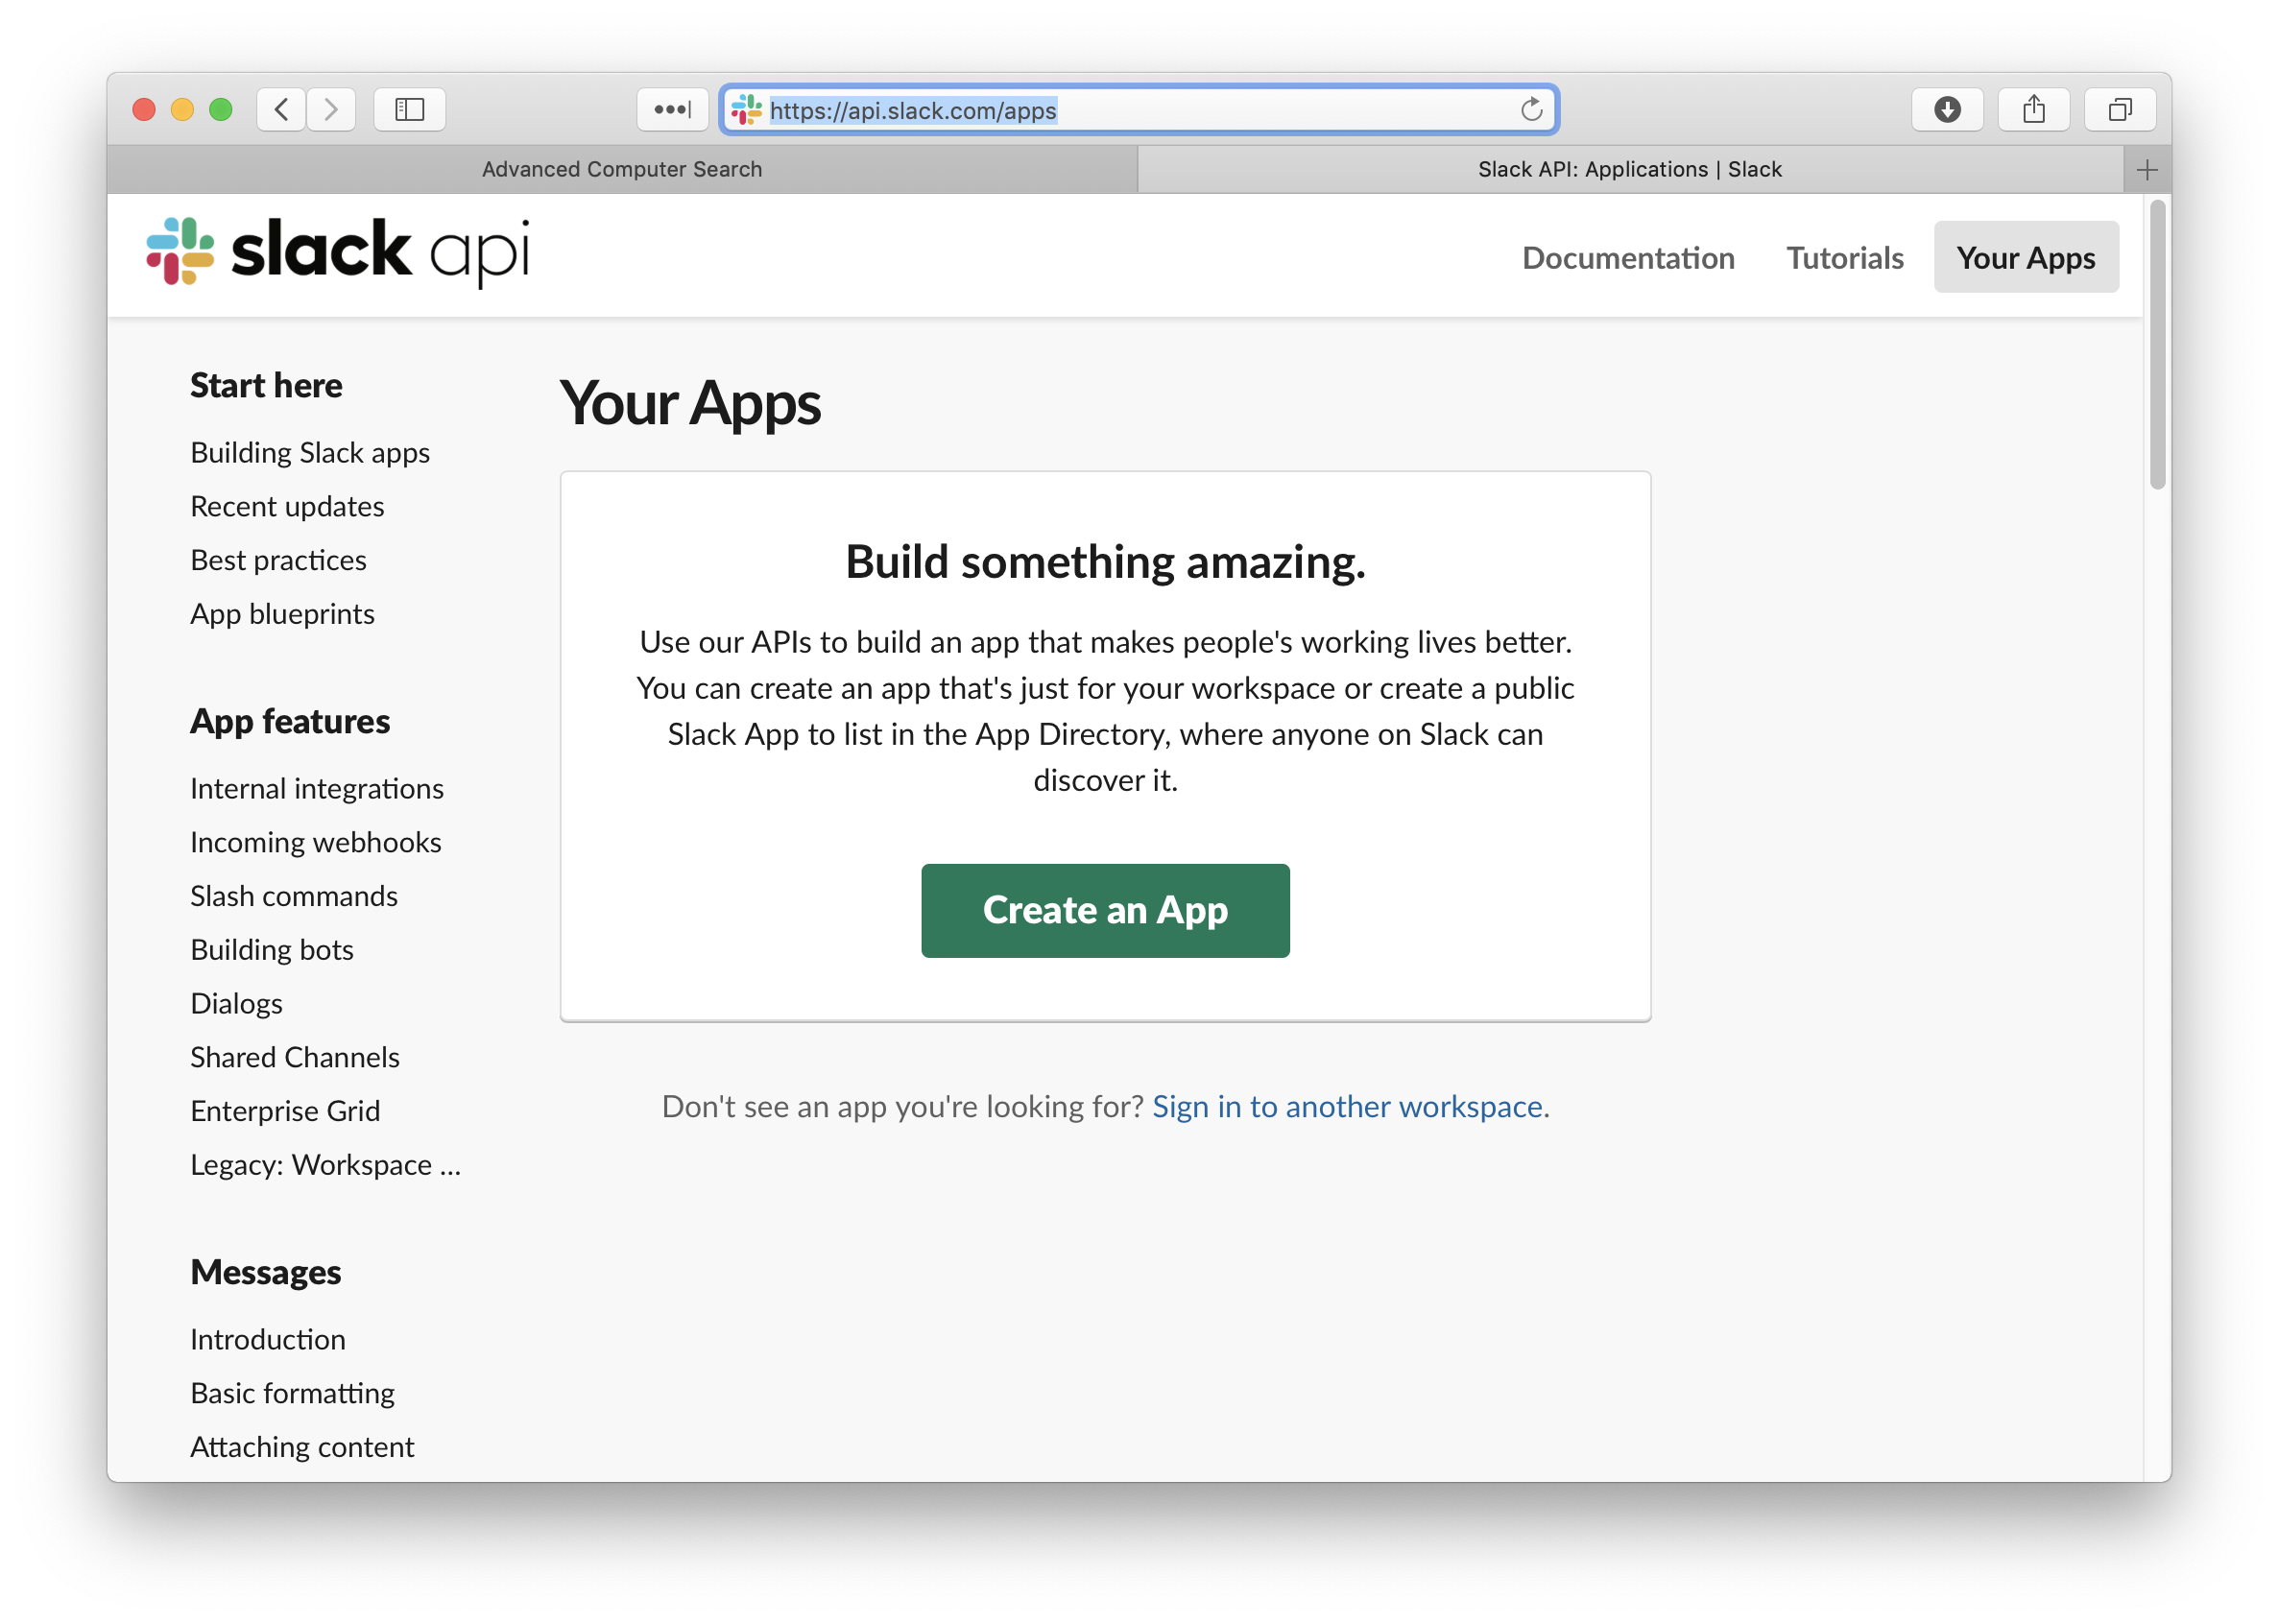
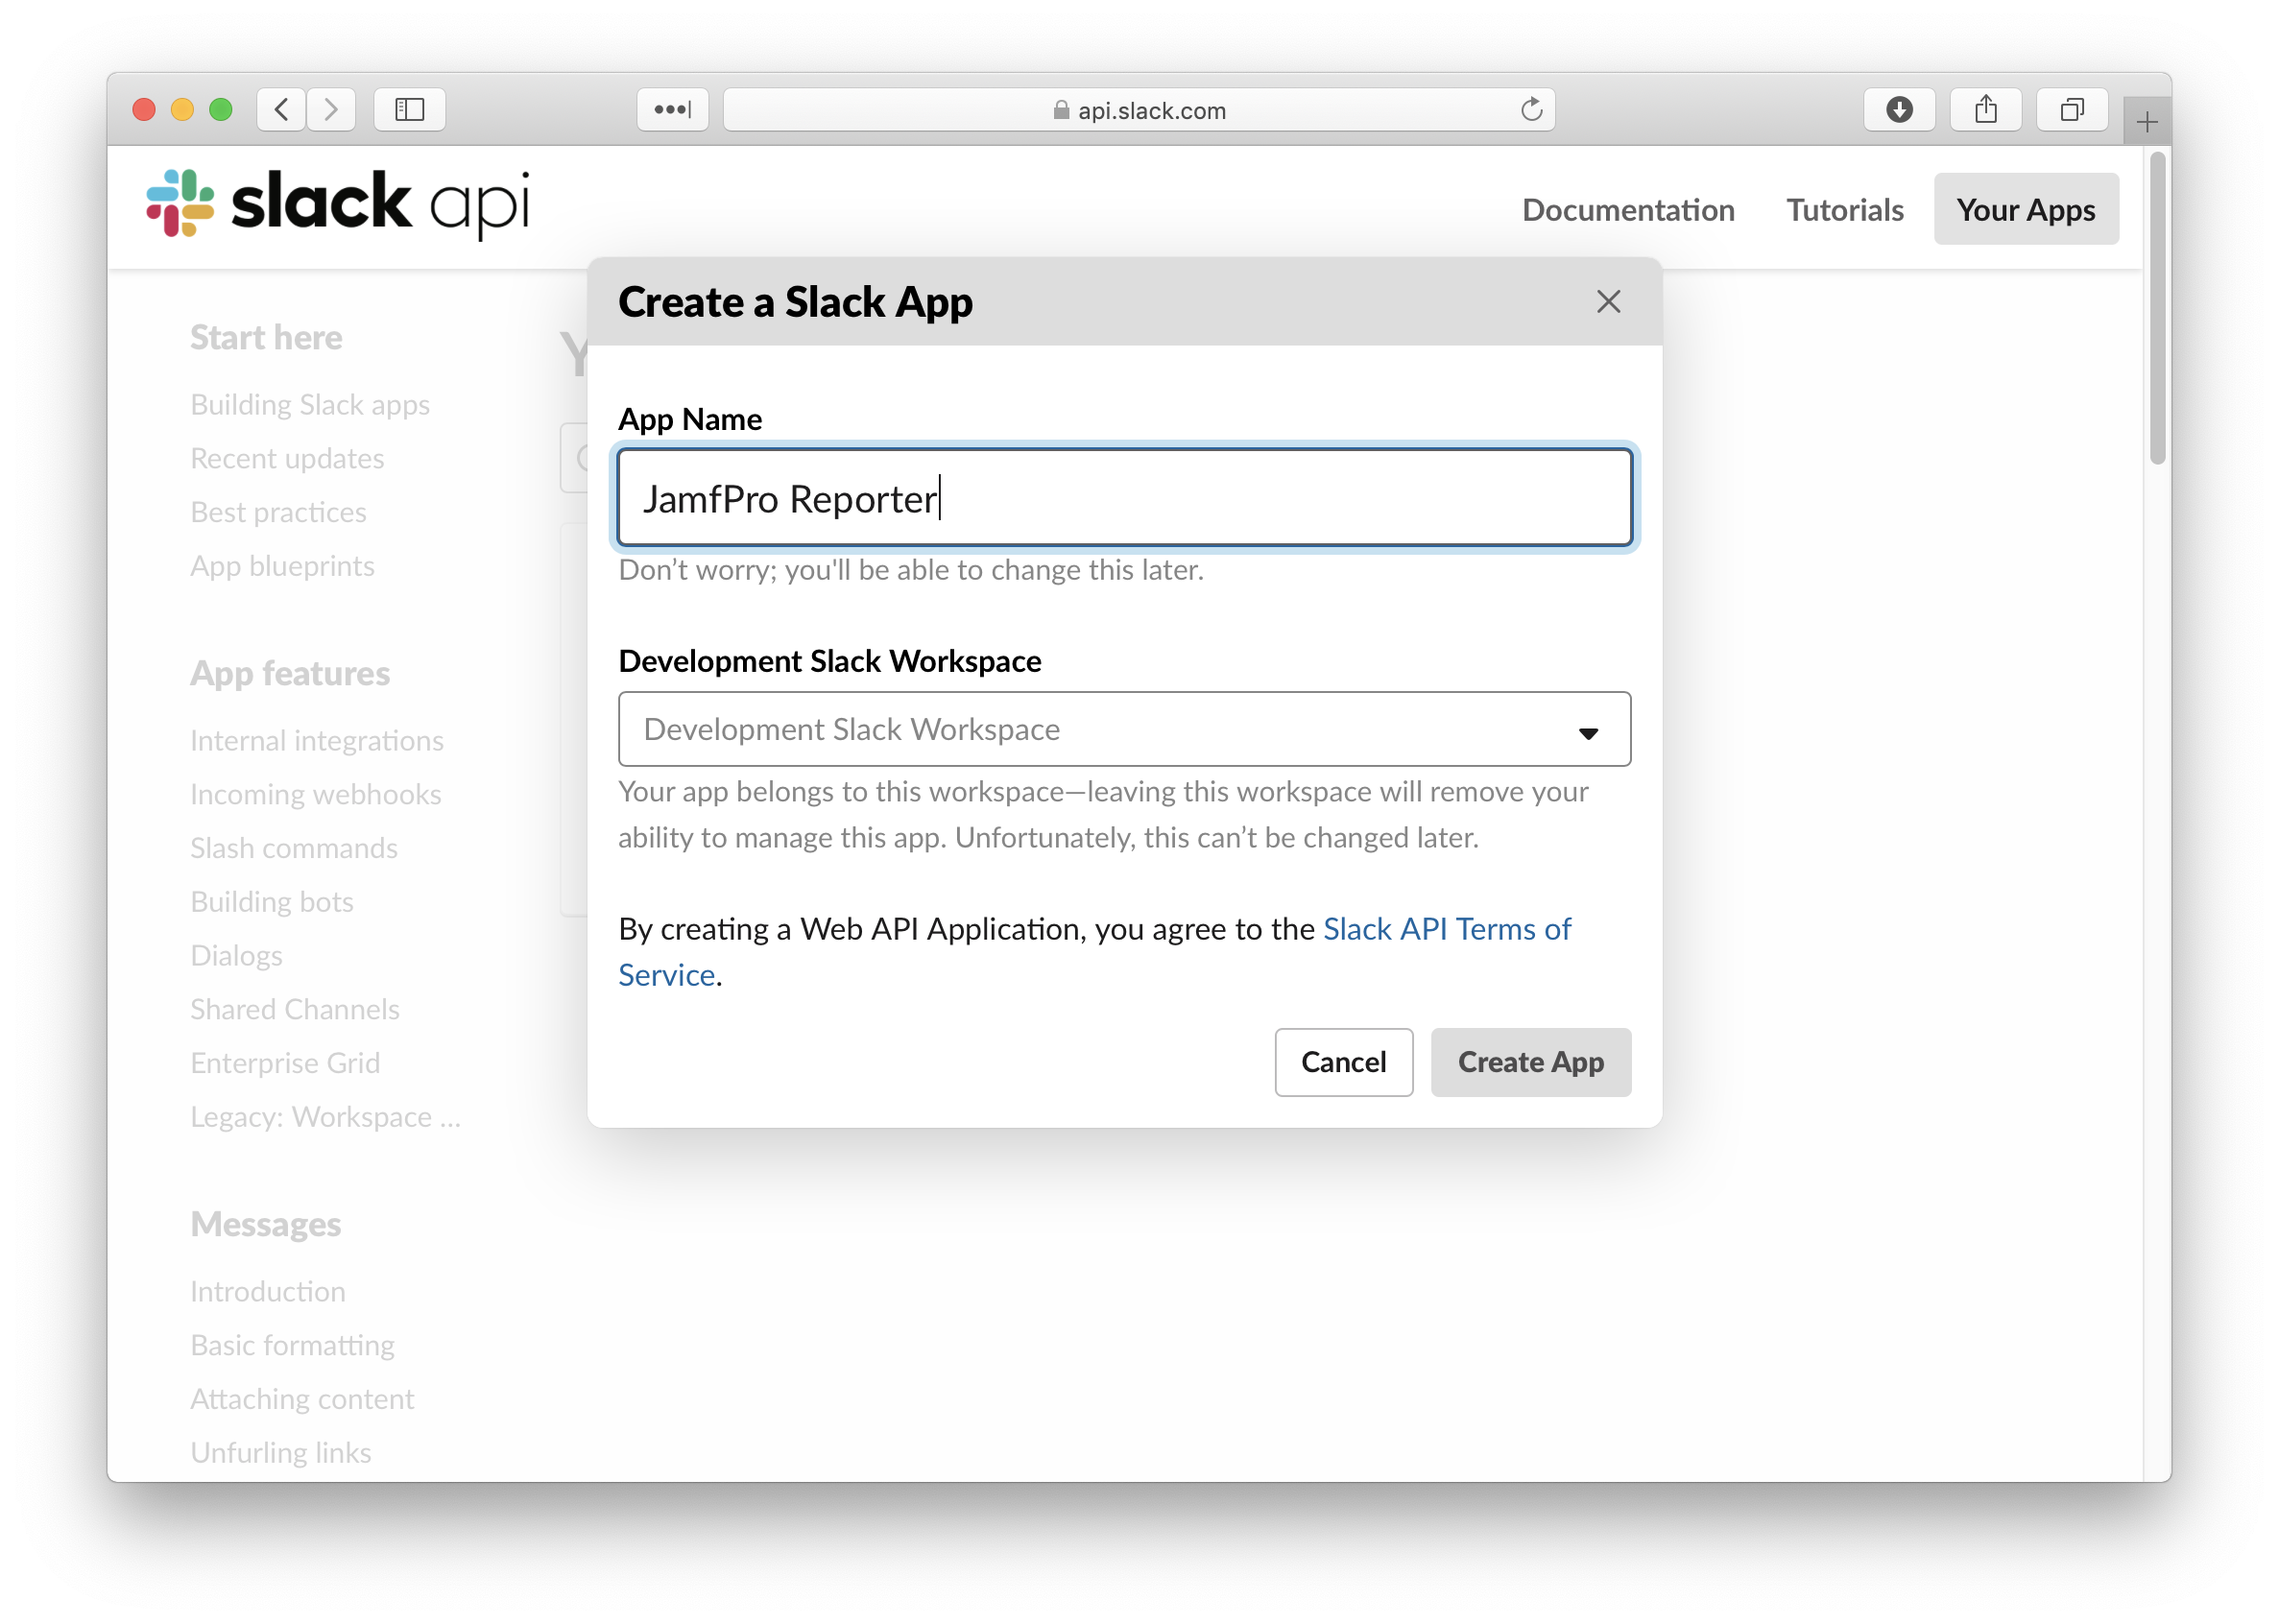
Open api.slack.com/apps and click Create an App
Give your app a name
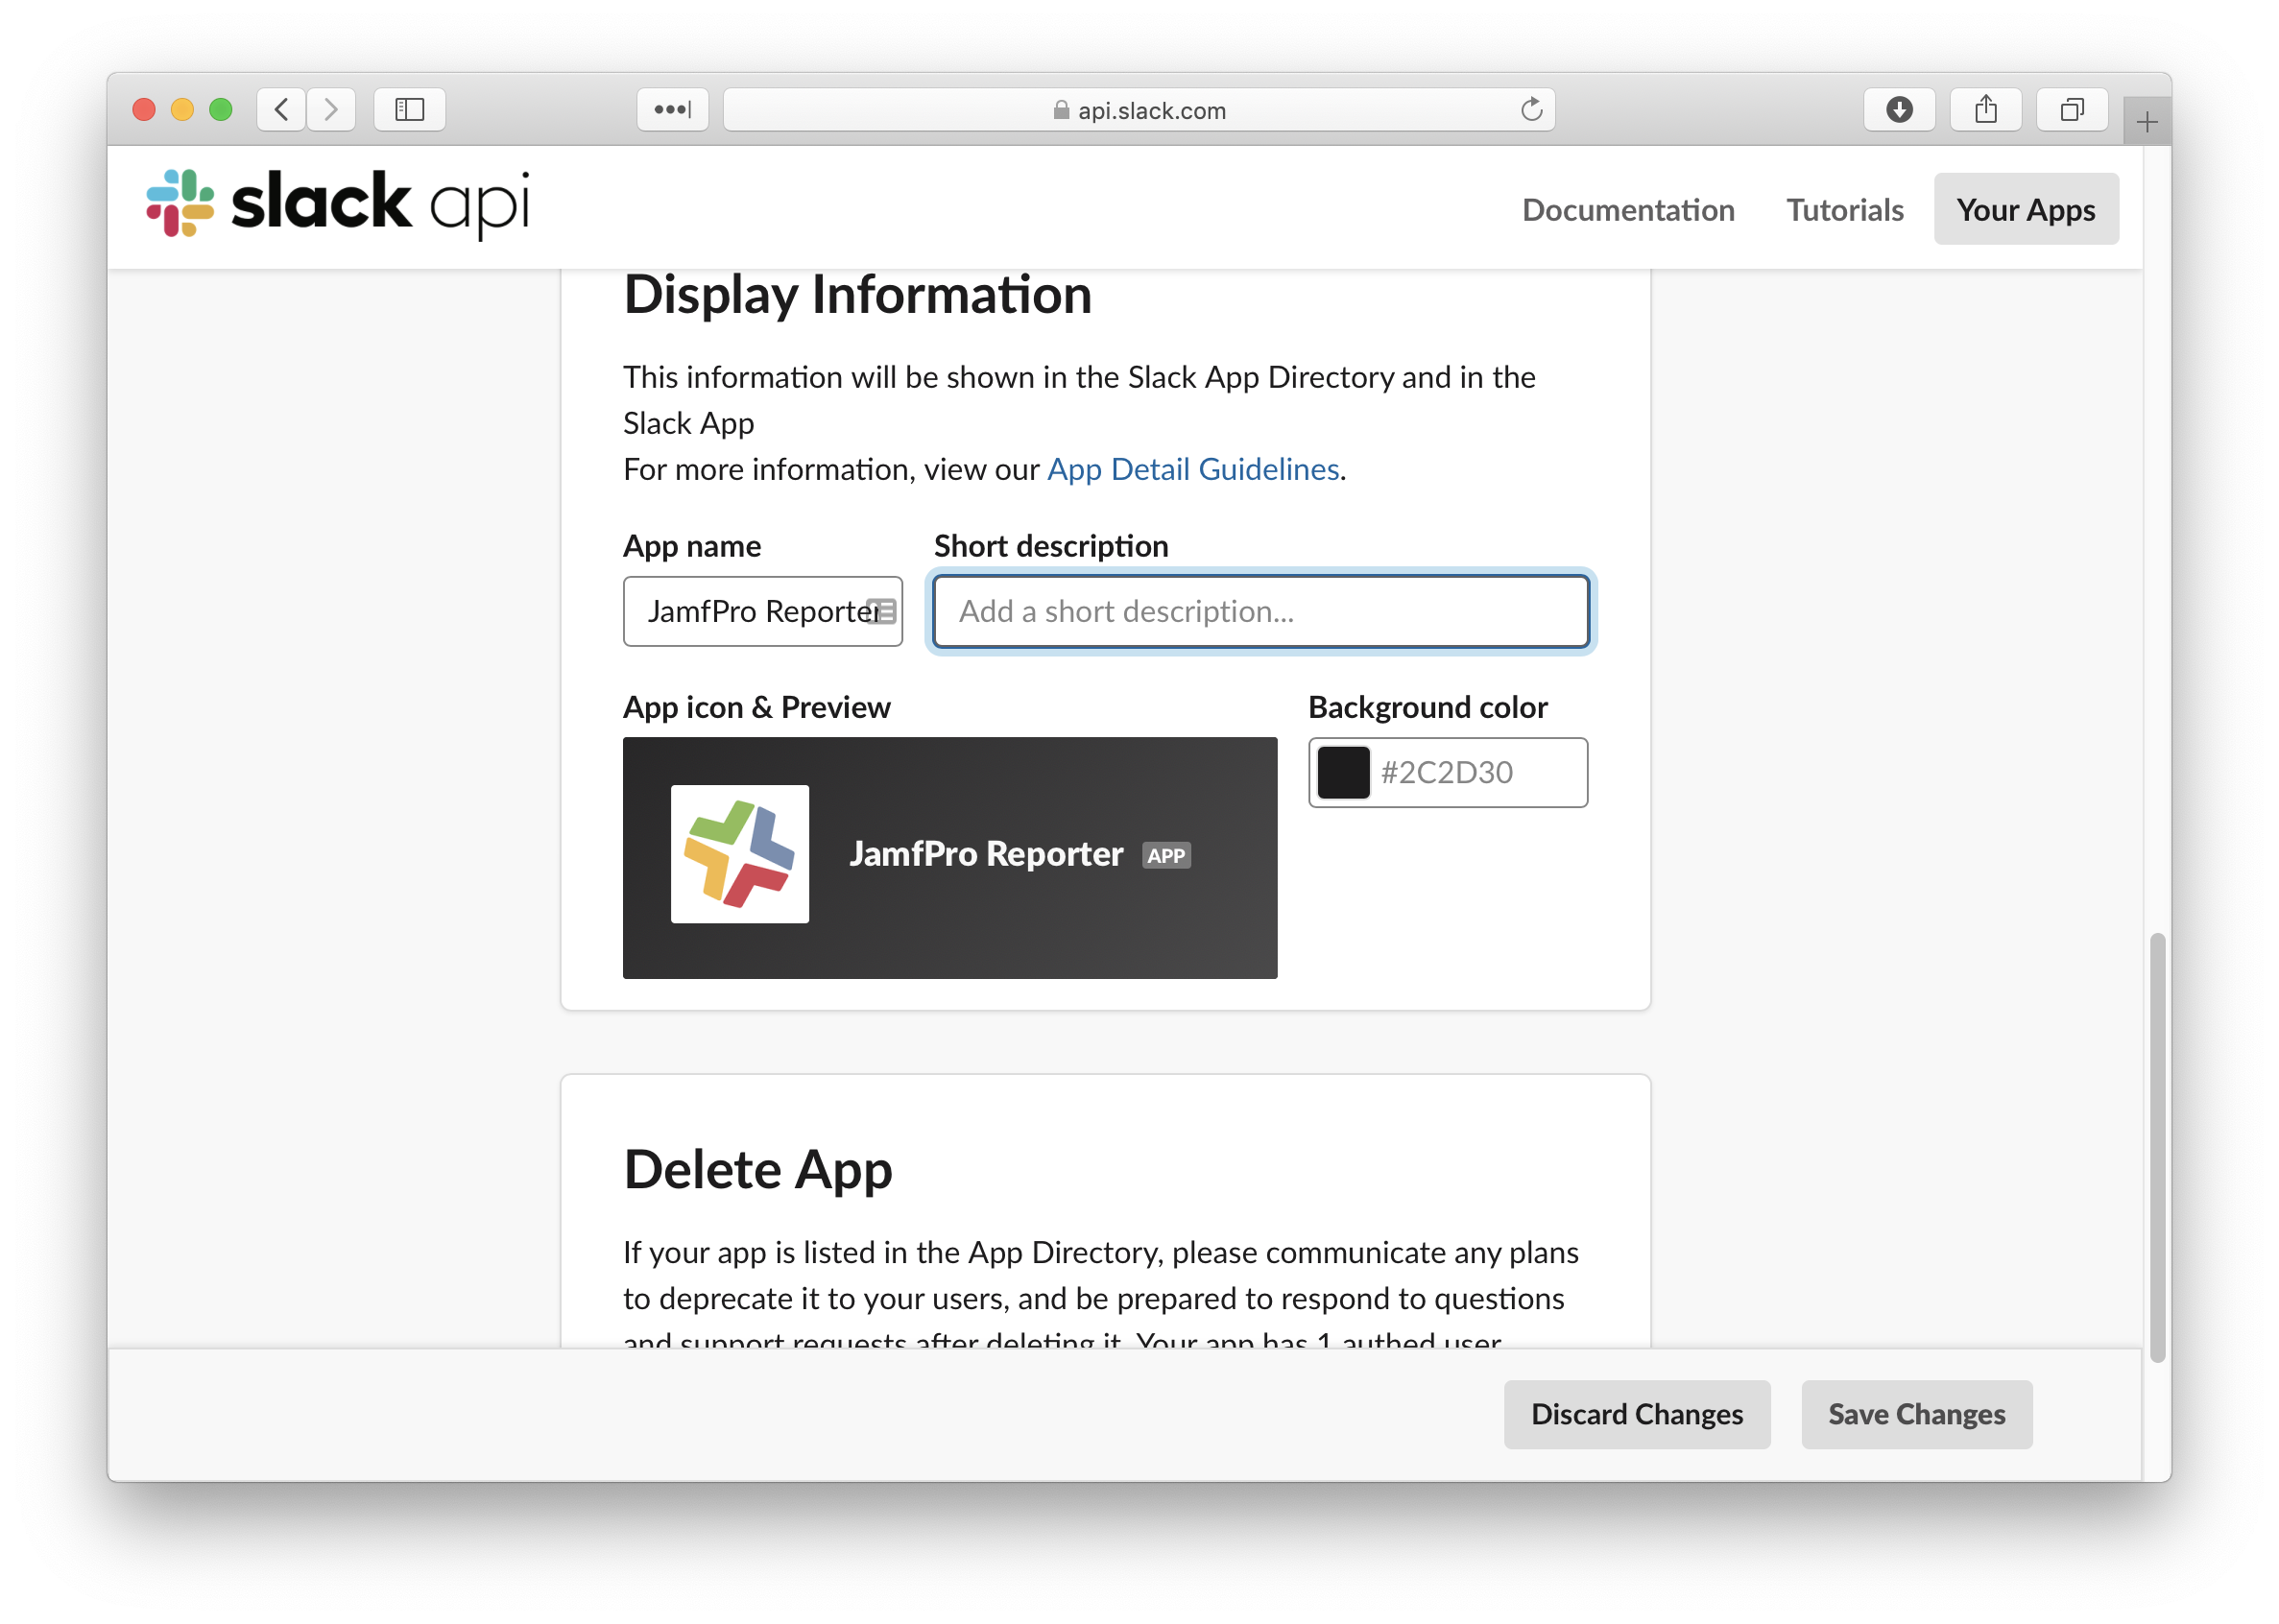
Give your app a nice looking icon
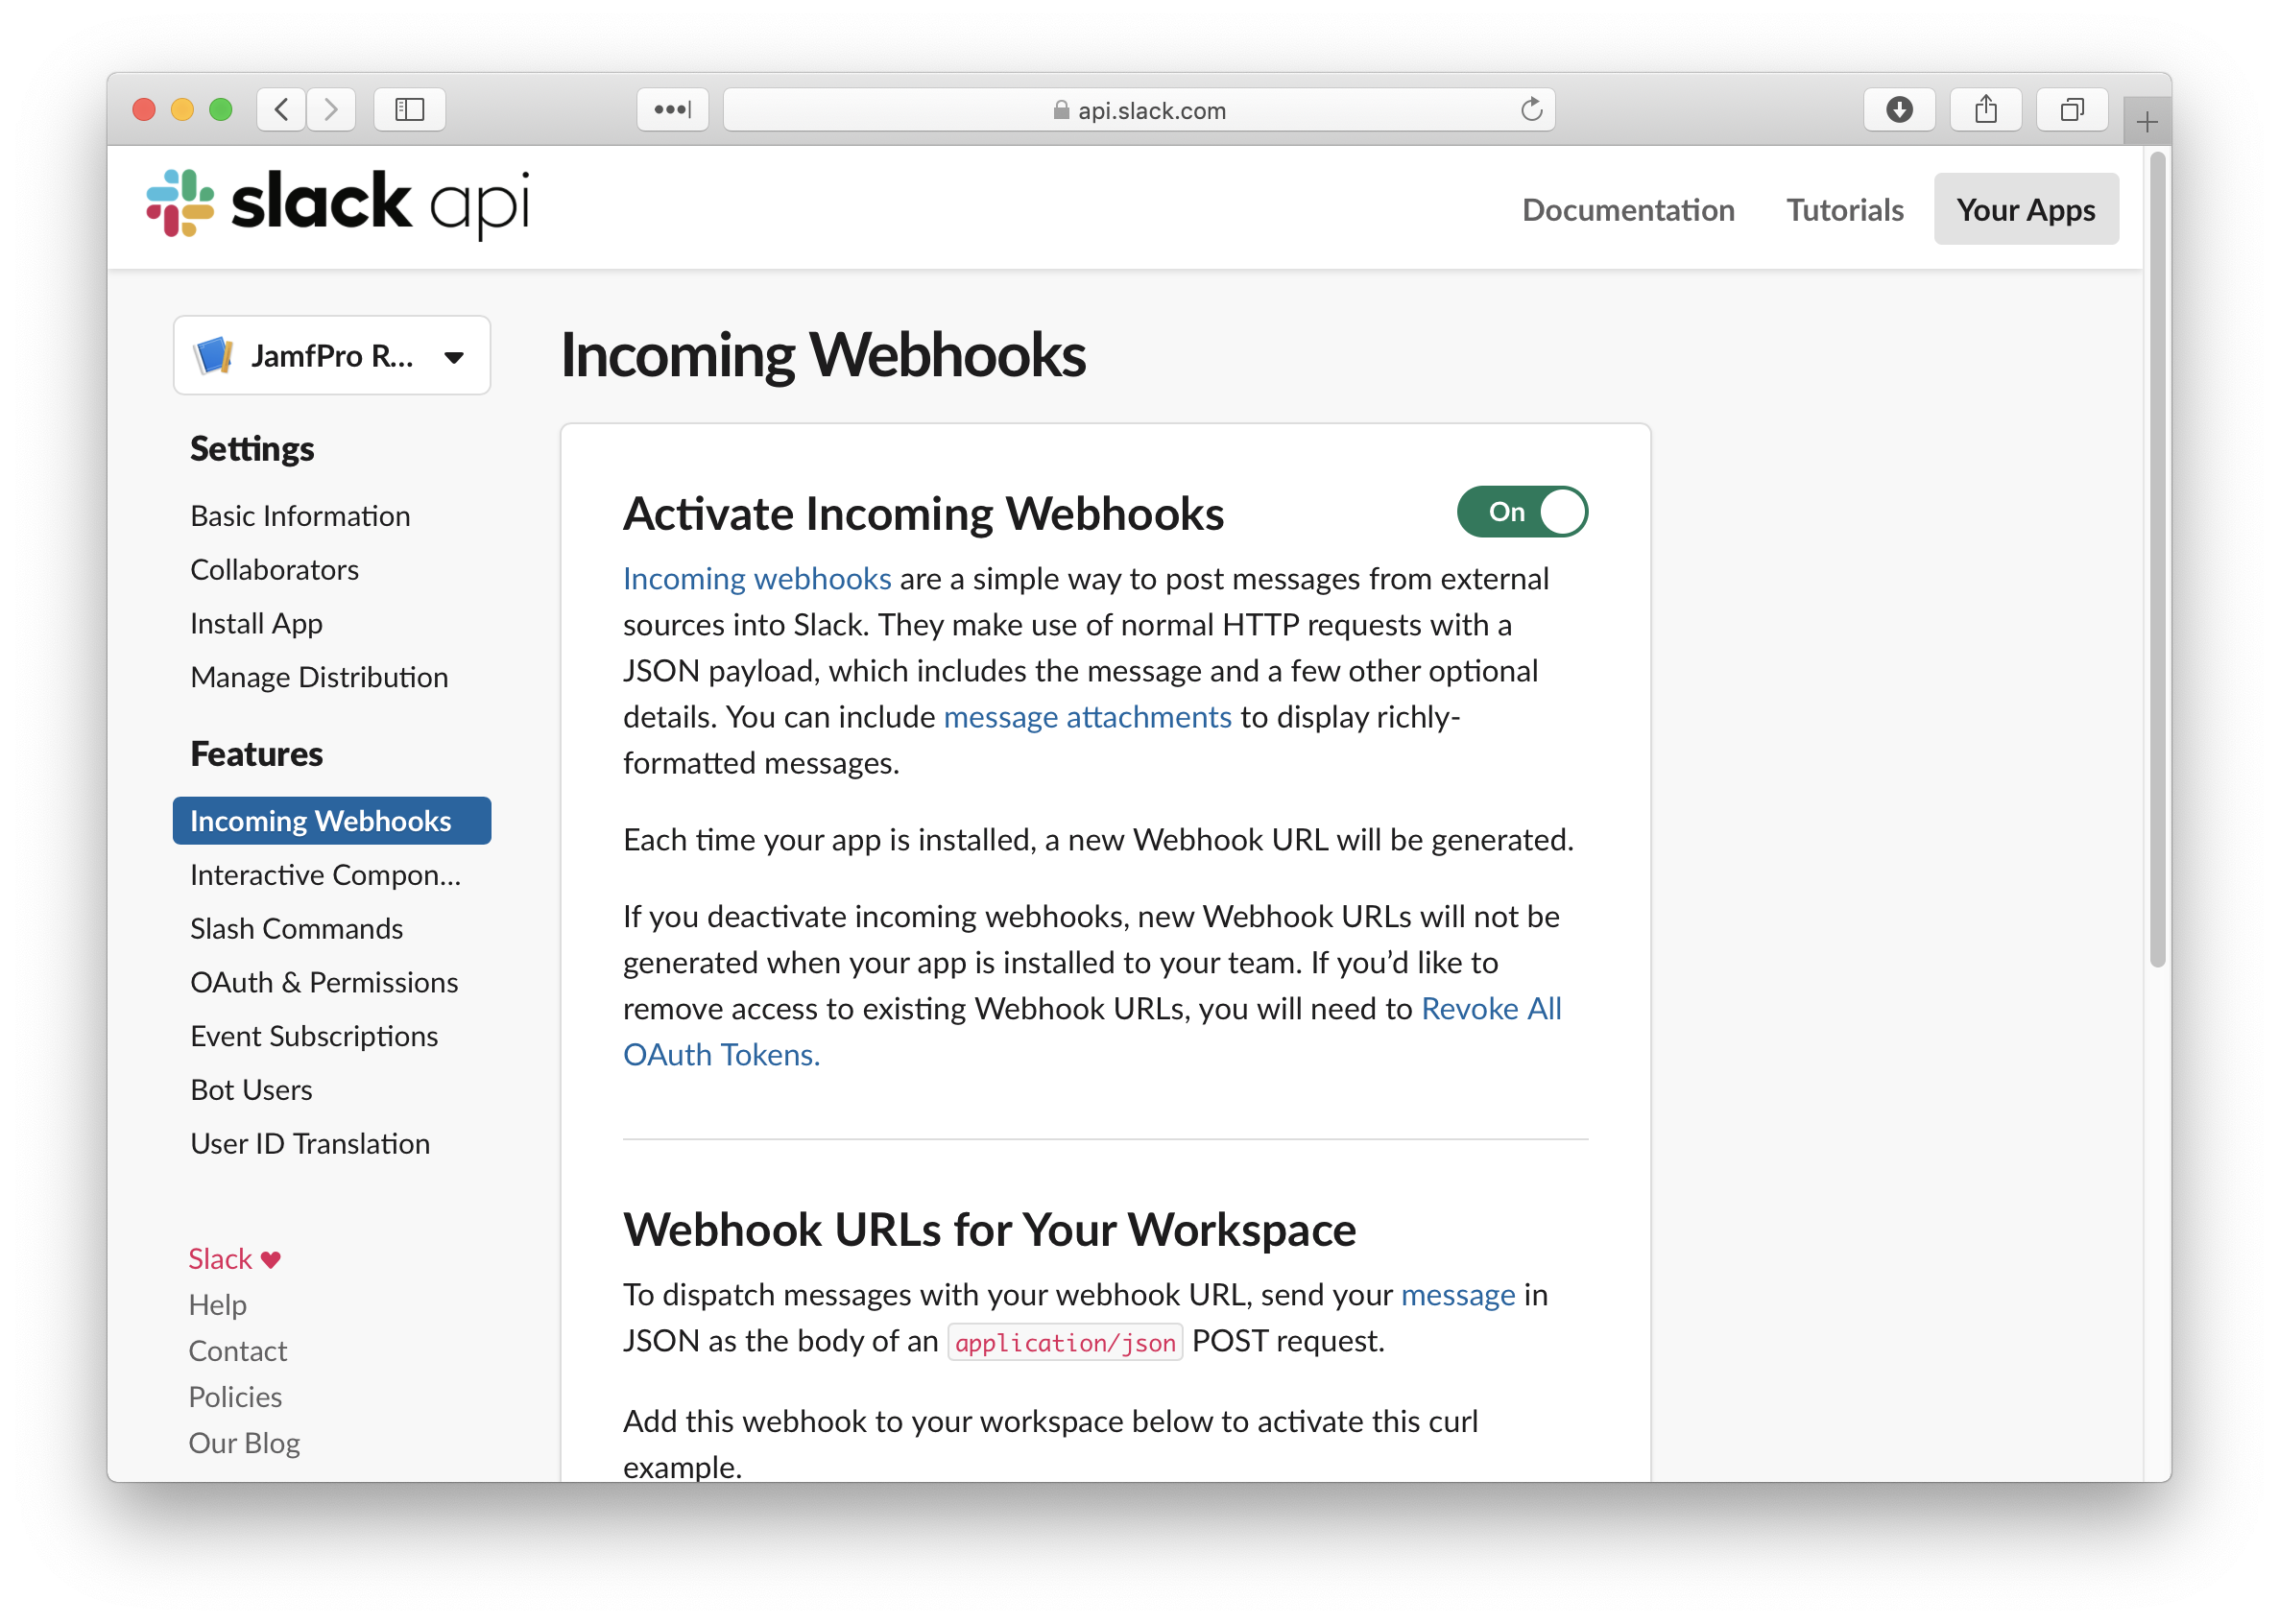
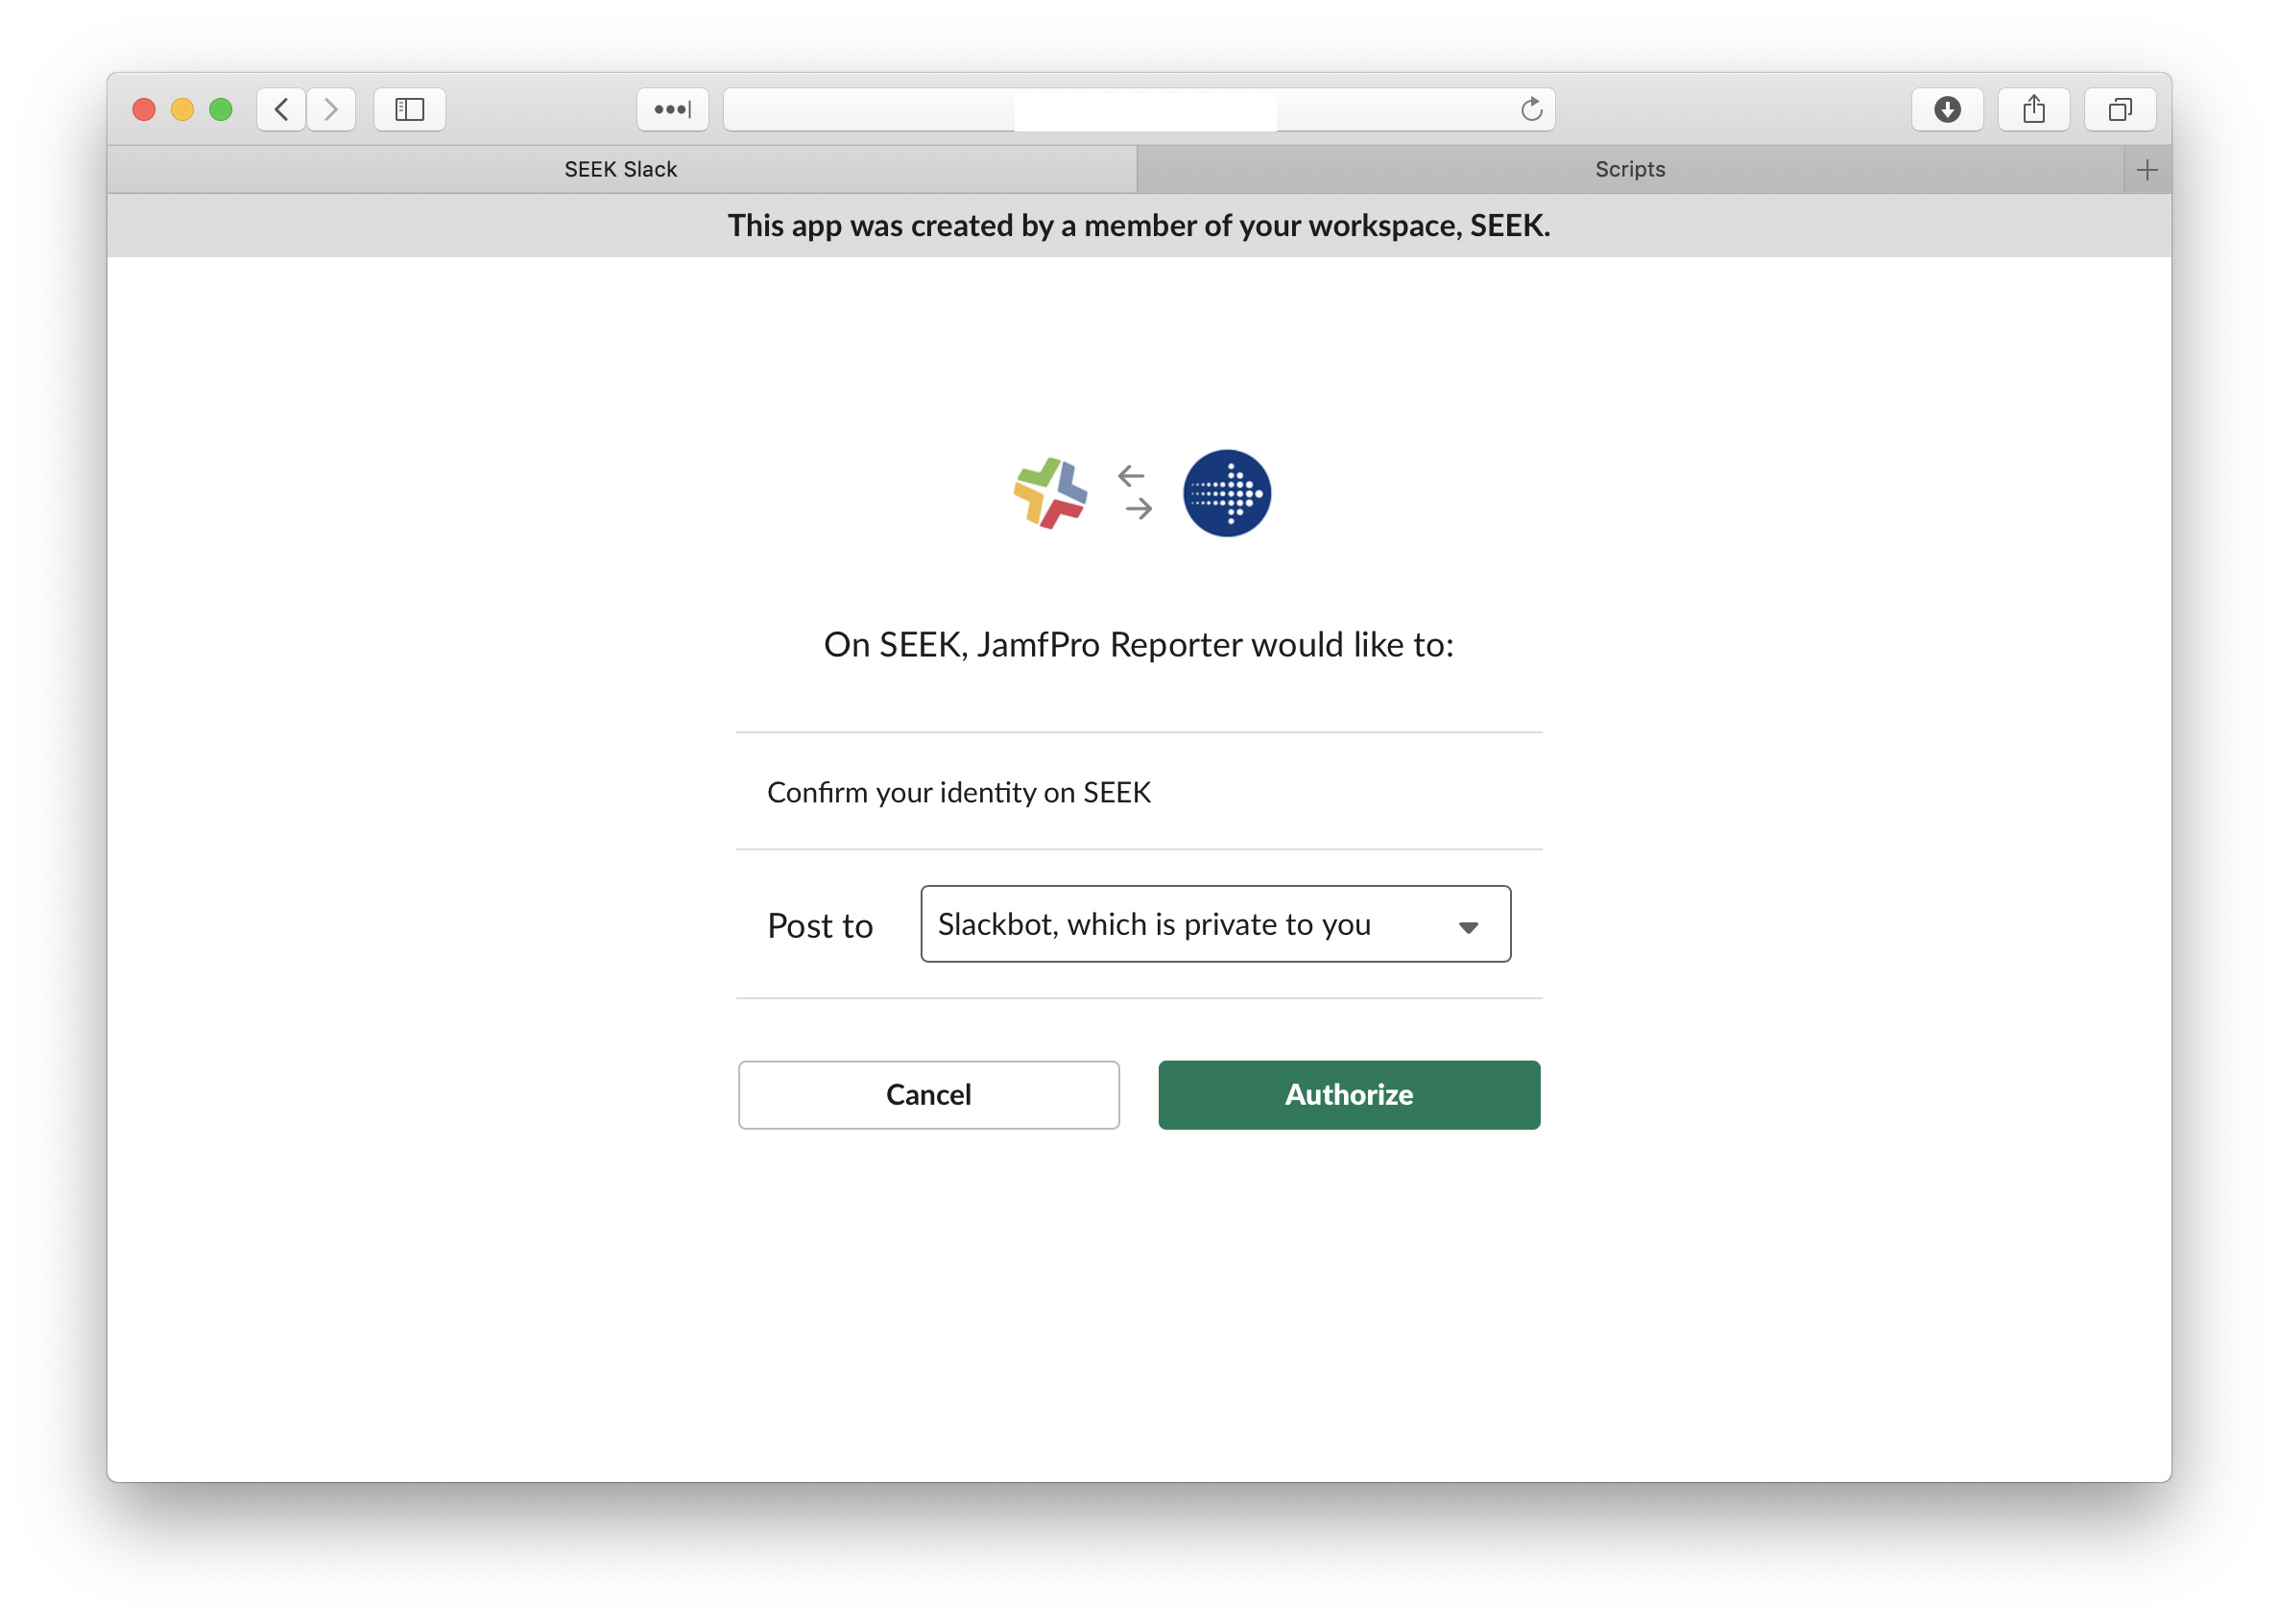
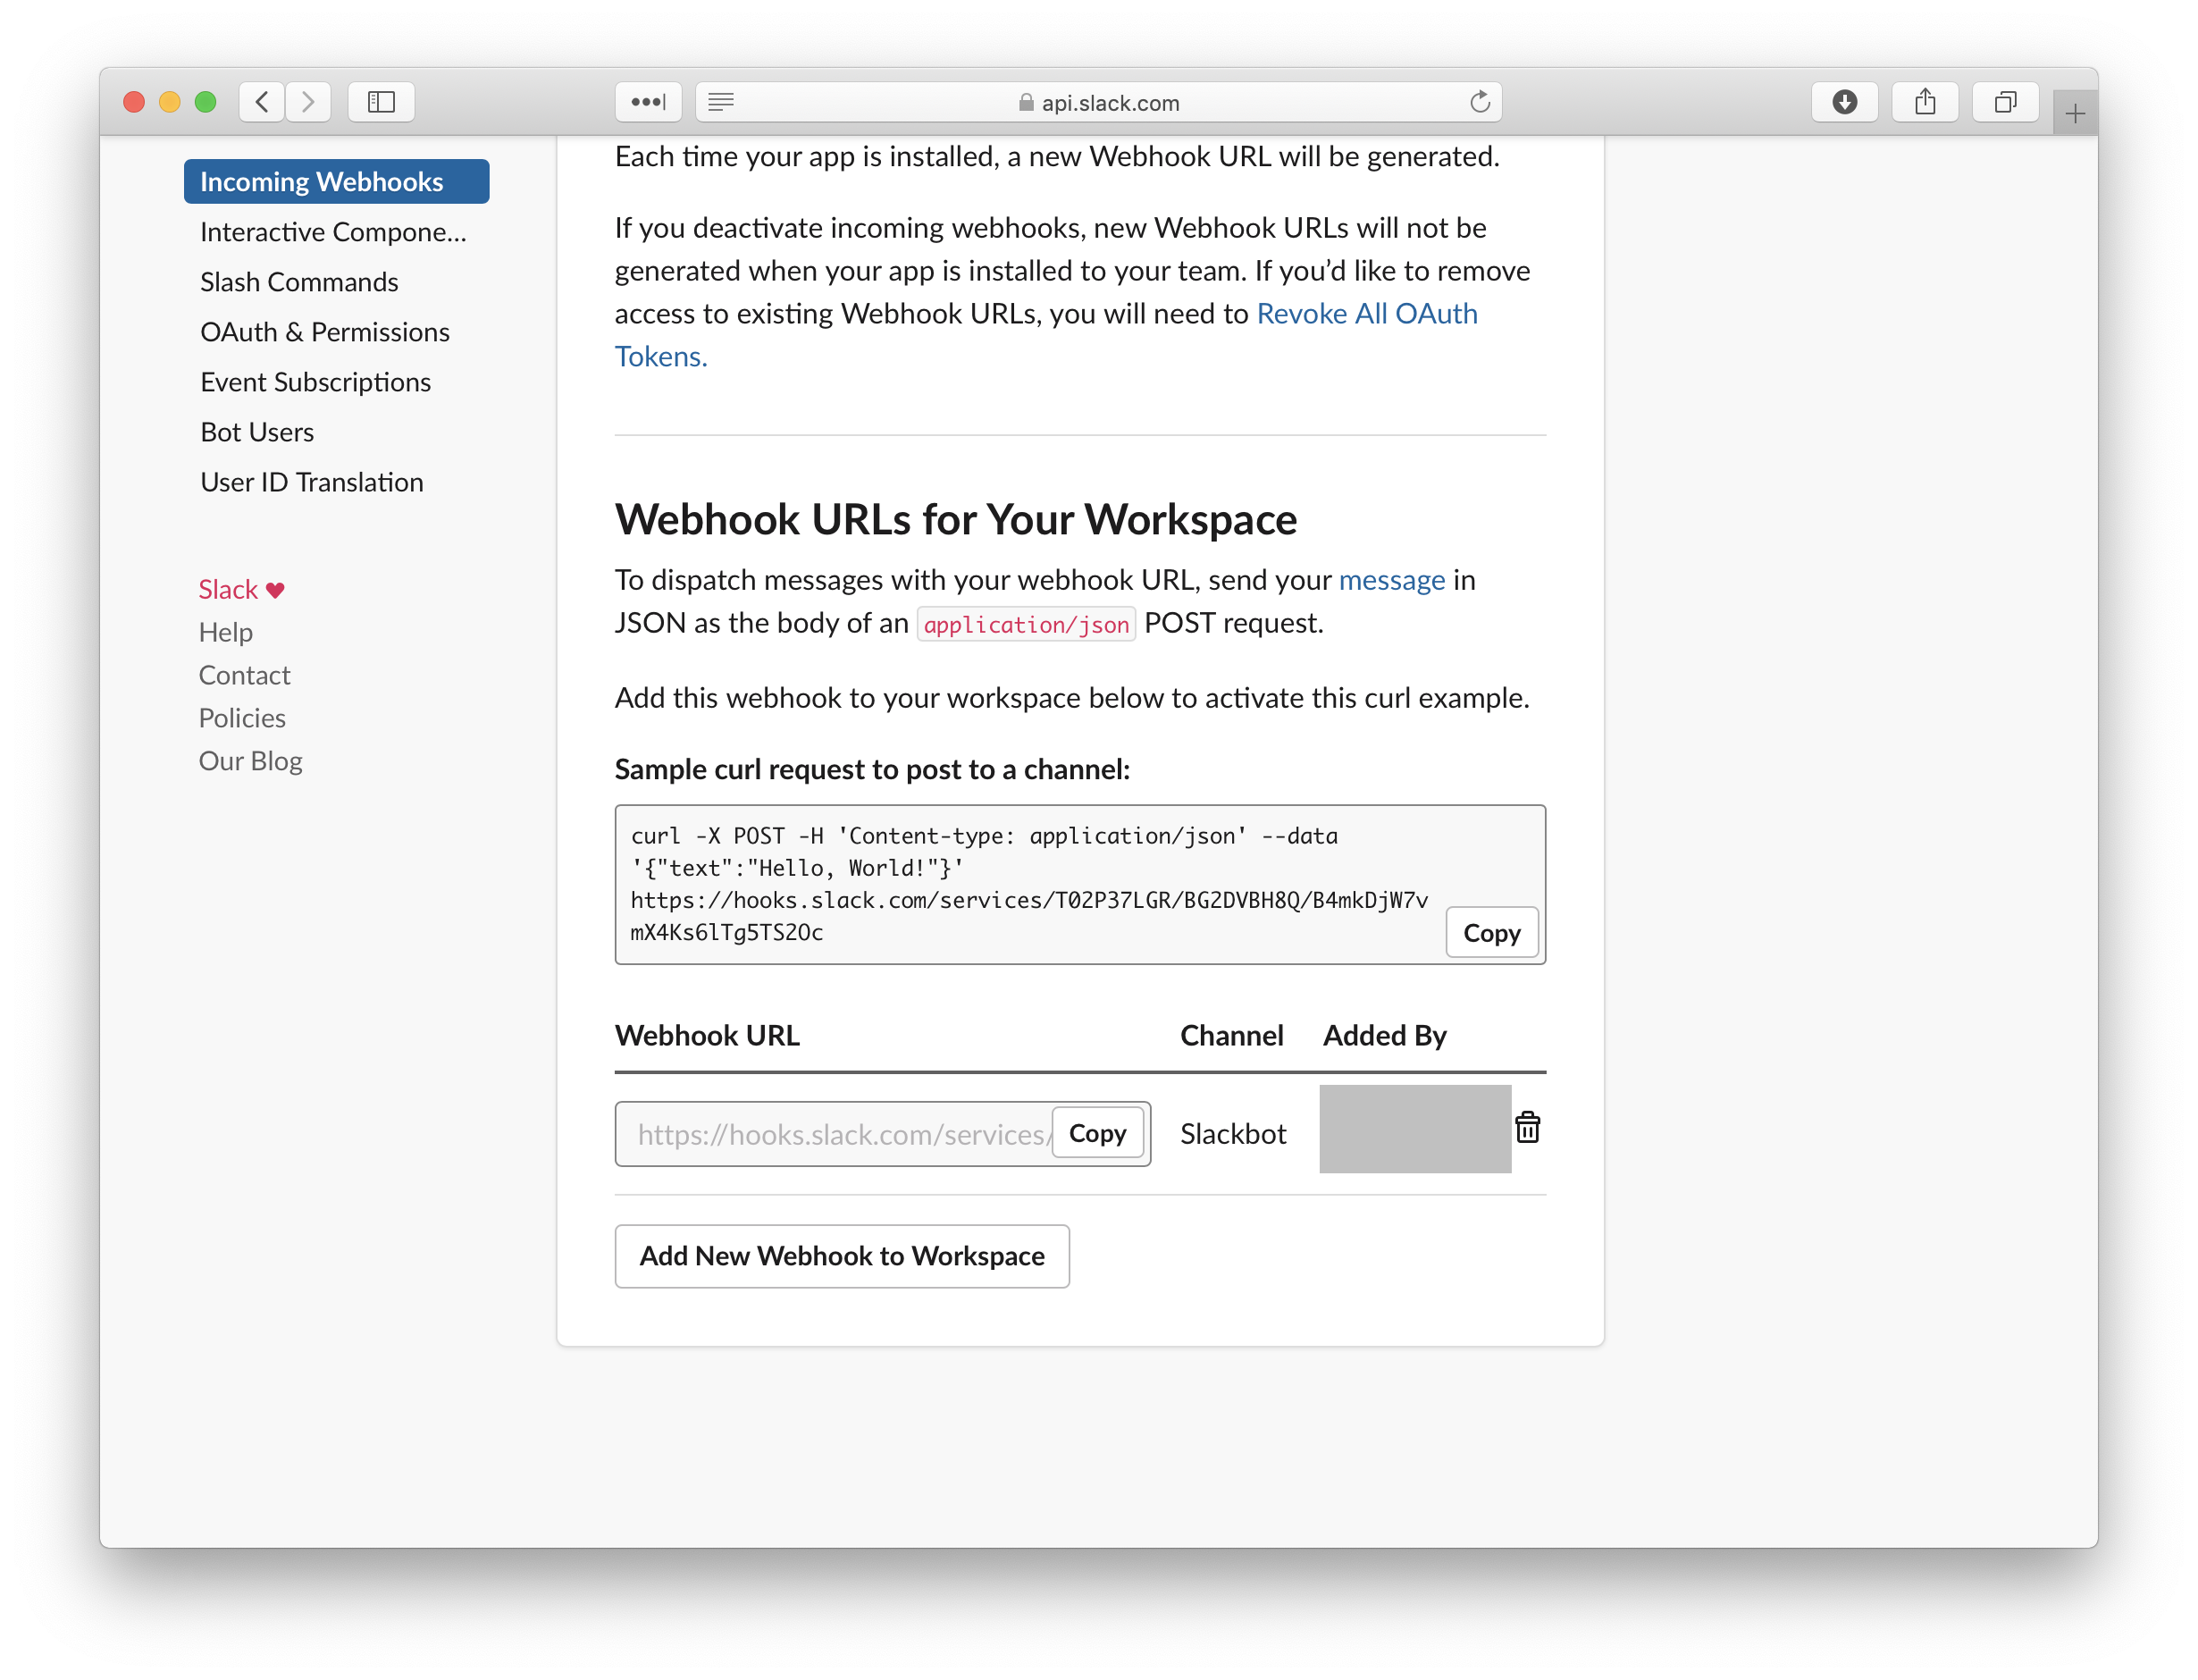
Go to Features > Incoming Webhooks > and toggle this feature on
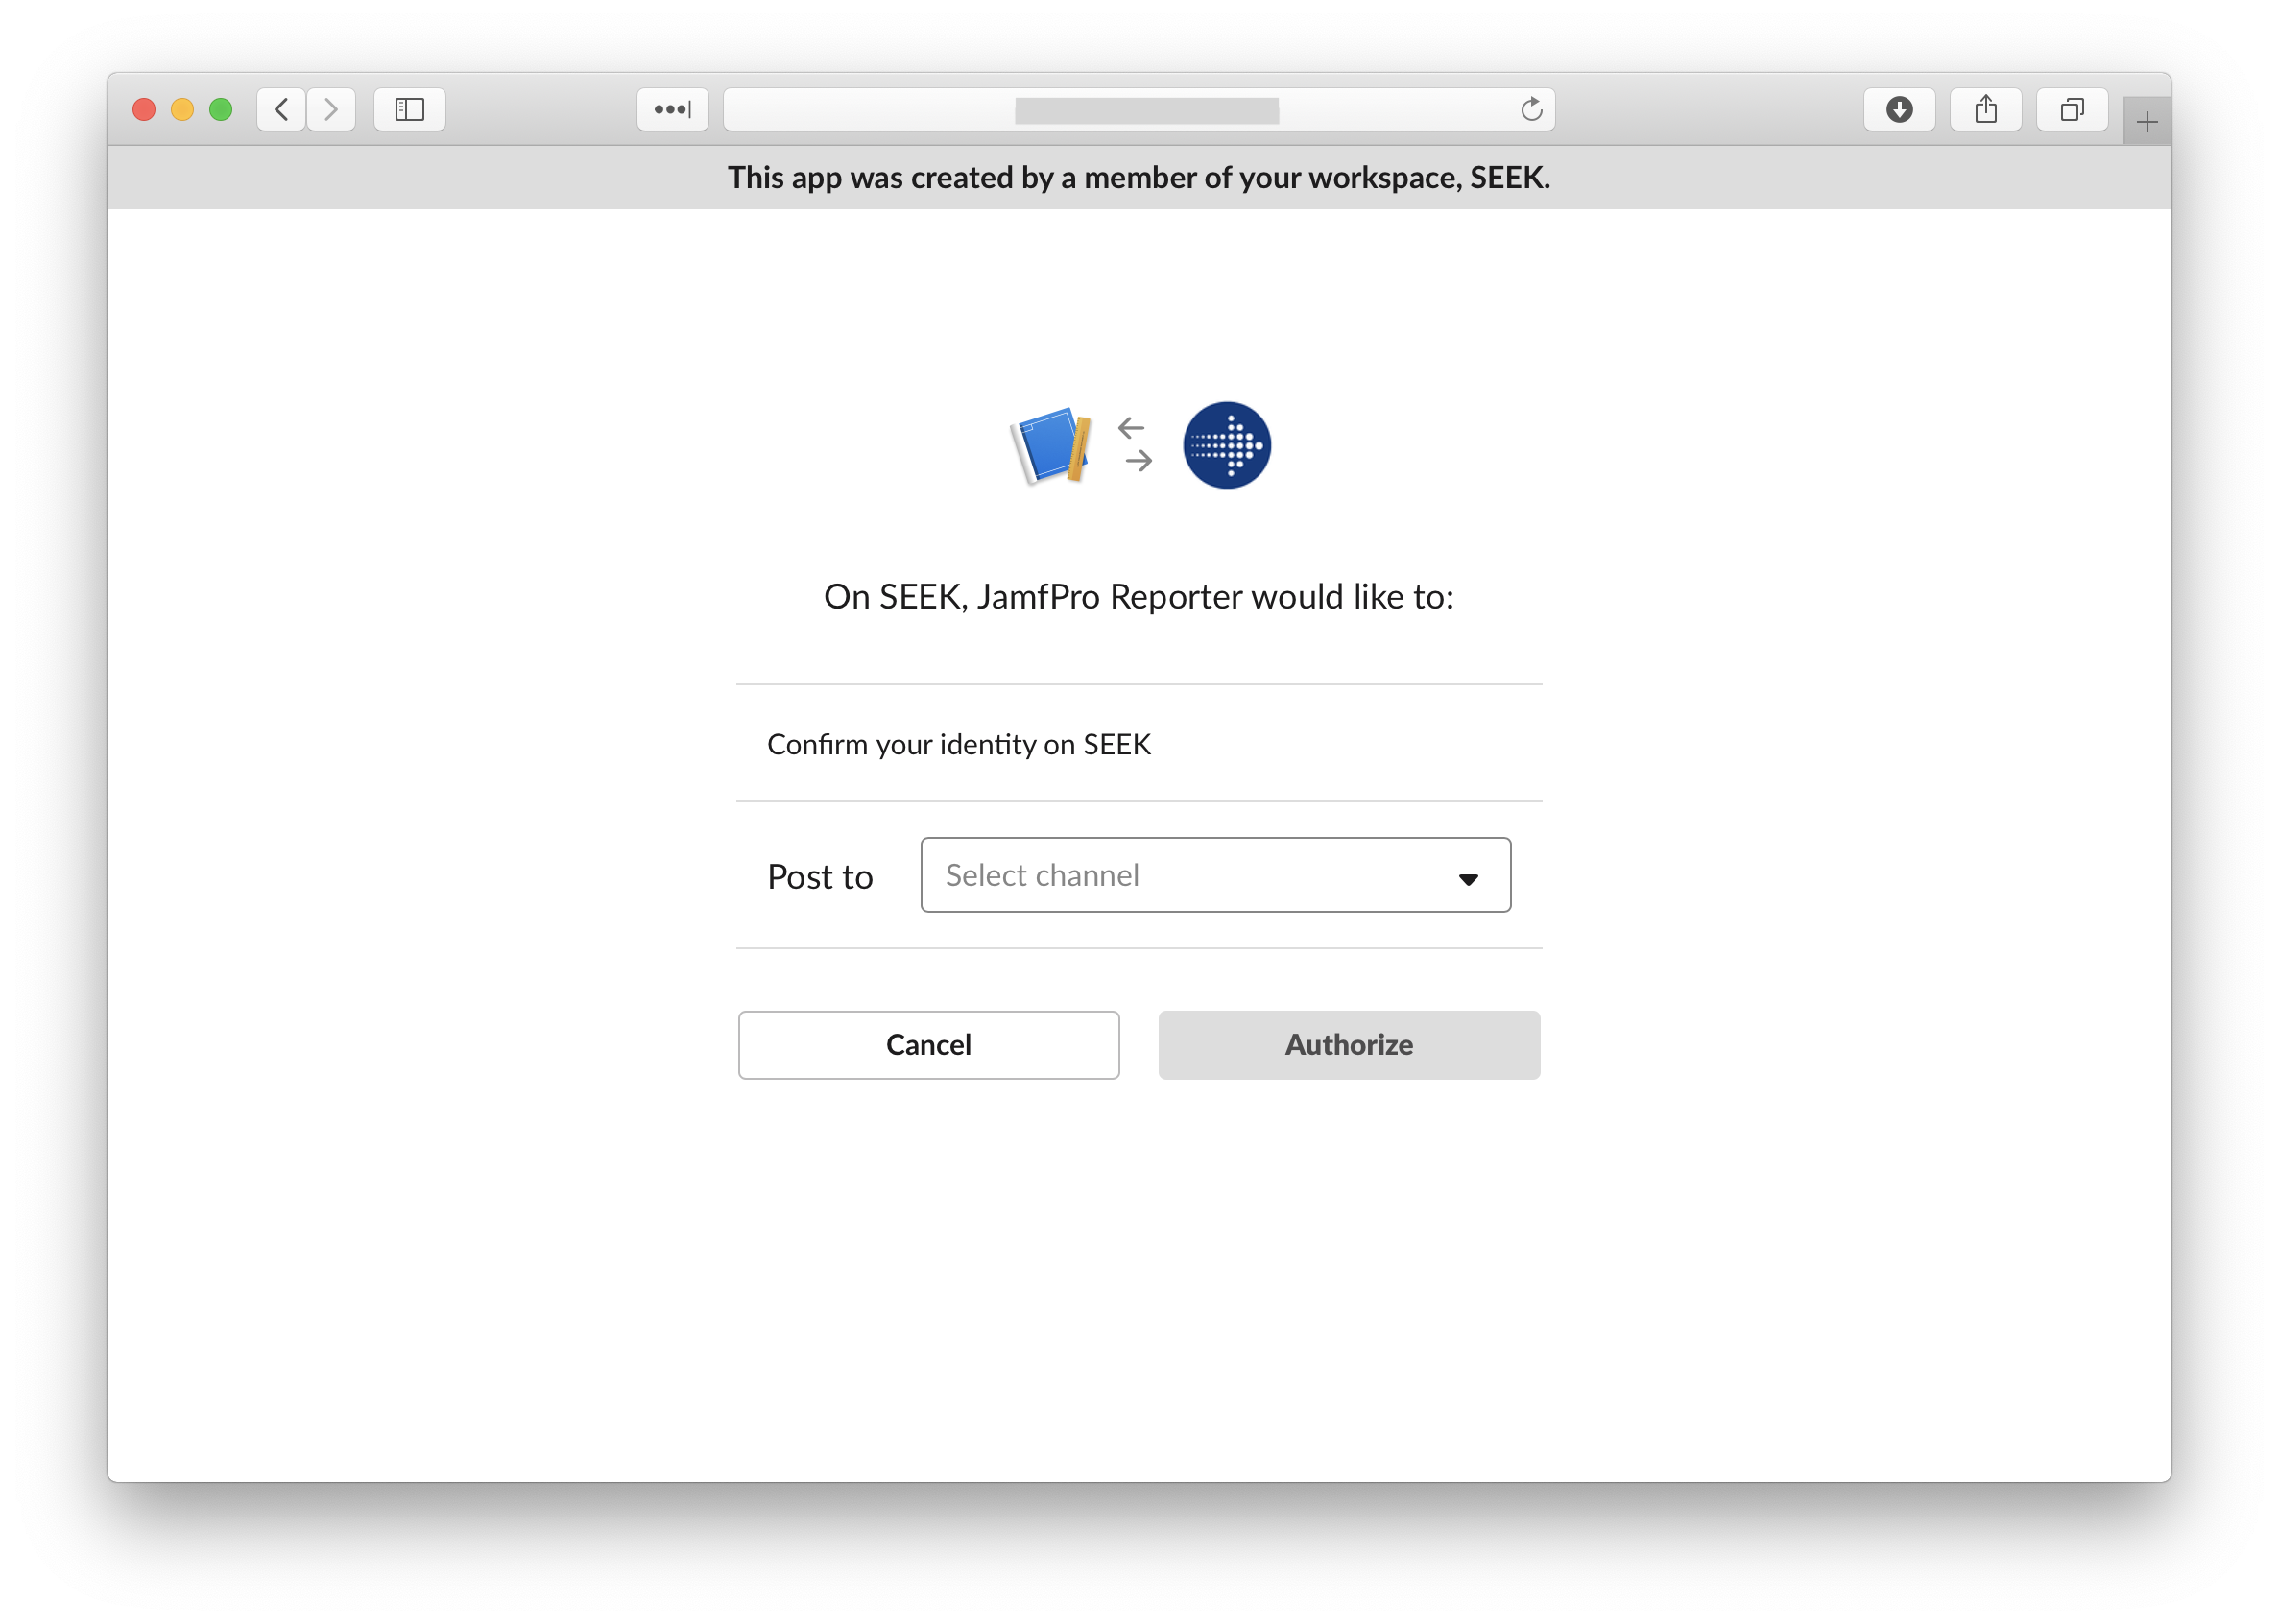
Select the channel you want this webhook to post to. I suggest you start off posting to Slackbot first, as that way all your testing will be visible to you only, before moving to a shared team channel
Copy the Webhook URL – going to need it for the script below!

That’s all that’s required on the Slack side of things, and now you just need to create a new JSS script that will be the policy payload to be run at the end of each completed Mac setup.

To post to Slack from a bash script is straightforward enough – just a single curl command to the webhook URL that Slack provided us above.

curl -sk -d payload=”$JSON” “$WEBHOOK_URL”

The trick is getting the JSON string that you are sending through to include all the correct parameters. Slack provides some good formatting tips but the basic post that I went with uses the following JSON content:

{

“text”: “<title of post>” ,

“attachments”:

[{“thumb_url”: “<post image url>”,

“color”: “<color of left border line>” ,

“text”: “summary text, with all quotes and single quotes escaped”

}]

}

The color is defined by the word “good” which gives us a green left-border, or “danger” which gives us the red.

The script preceding the curl command is just getting all the values that we want to include in the summary text, and making the checks that we need to confirm if the color attribute should be a “good” or “danger”:

Just like how the color attribute is defined by whether any issues were encountered, we could do the same with the image link – so that there is a happy/sad Mac image based on the result, making failed deployments even clearer. Another way to make failed deployments clearer is to add an @here to the text (if your team’s Slack etiquette allows that is).

I think I could also improve the script by including more extensive post-deployment testing to the script – such as a confirmation that the relevant security agent processes are running, and validating that the username of the account that is created actually exists in AD.

Using Trigger to present a form

I use Trigger in our Mac deployment workflow to prompt the deployment technician on the details of the Mac’s end user. I use this information to then create the user account, enable the newly created account for FileVault, and to give them administrator rights, if required.

All of this is run from the one JSS script that:

  • creates the HTML file to present in the web view,
  • runs Trigger so that the web view is presented (and waits for the user to click one of the two button options,
  • parses the results and then calls the functions required to create the user account, enabled FileVault, and provide administrator rights accordingly.
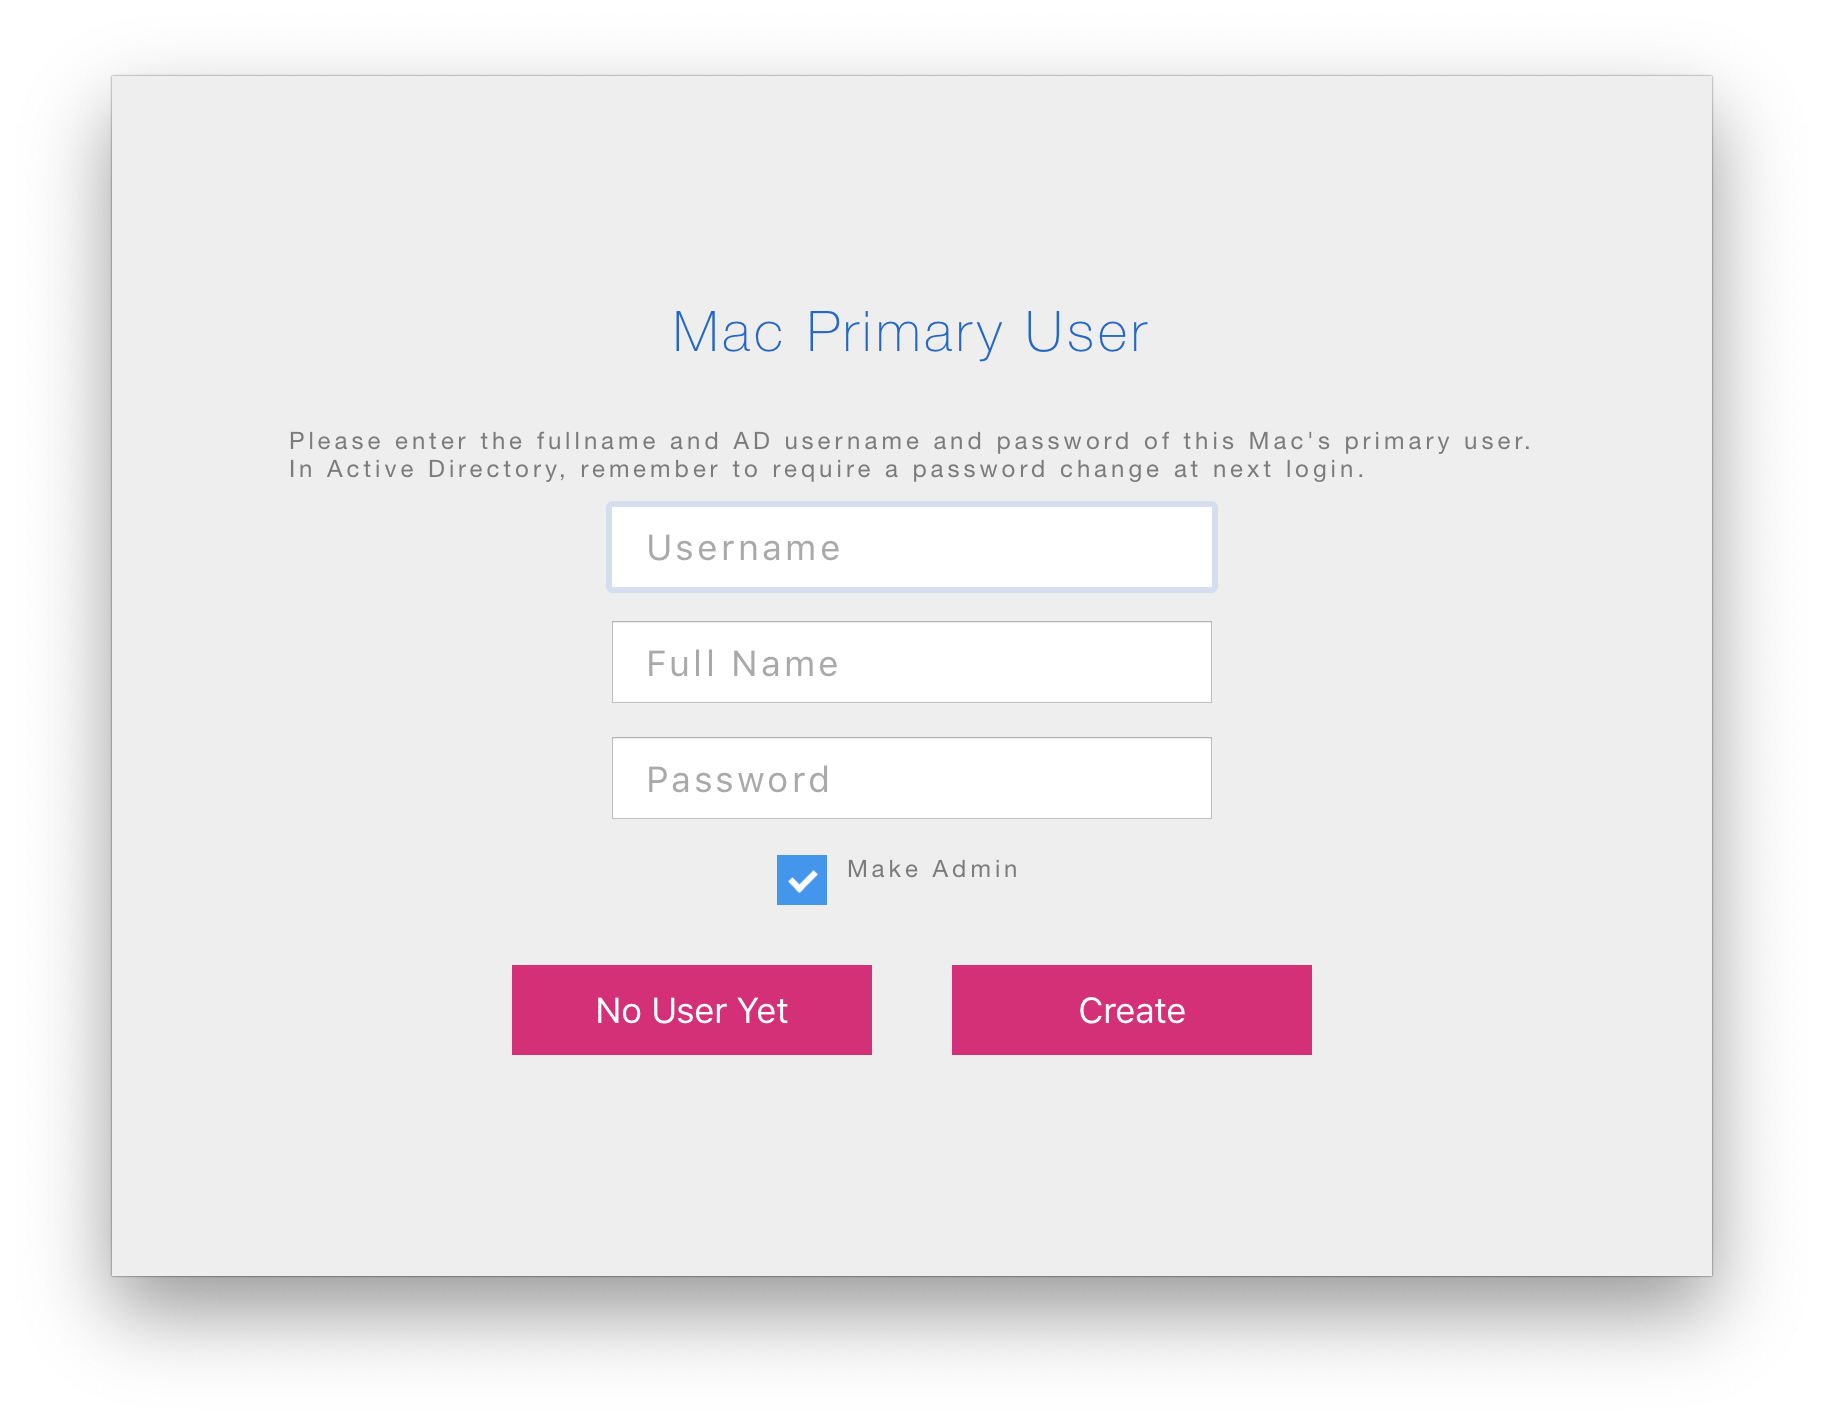
Example web view to prompt the deployment tech for the end-user details
Javascript function in the web view code prevents the Create button from working until all three input textfields are filled, and highlights the fields that are missing.I

For the sake of simplicity, I’ve commented out the functions that do the actual grunt work of creating the user account and enabling FileVault, but I will share the code in a future post if there is any interest.